Toblerone cupcakes…


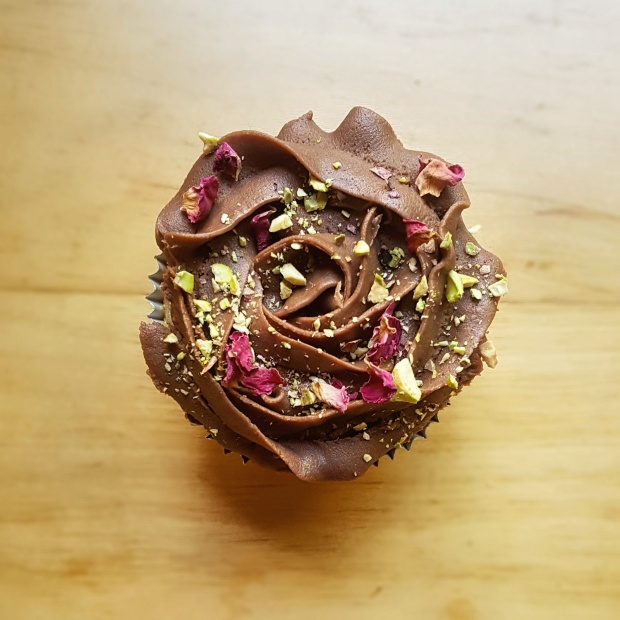
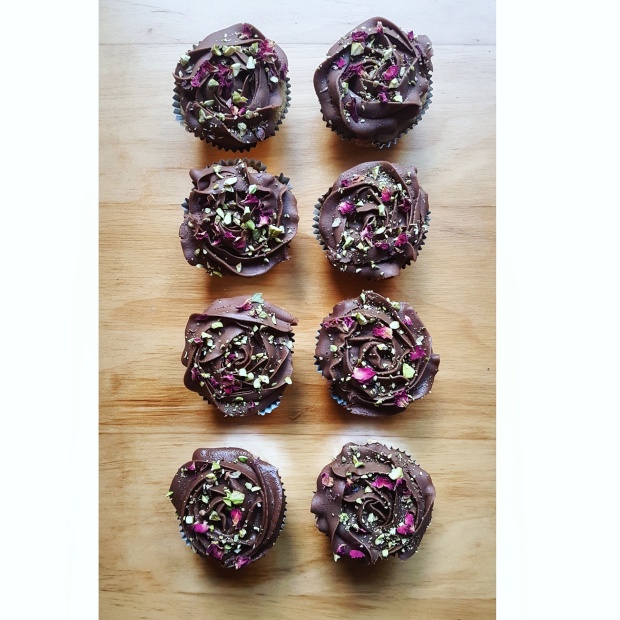
How to make a chocolate cupcake even better? Stick a whole piece of Toblerone in the middle of course! I definitely underrate Toblerone as a chocolate bar, that is until I try it again and remember how insanely delicious it is! After seeing a bar on offer and not wanting to demolish the whole thing in one sitting, I decided cupcakes would be the best option! And I have zero regrets! These cupcakes are incredibly moreish, so be warned and enjoy…

Ingredients

150g butter
150g caster sugar
120g self raising flour
30g cocoa
3 eggs
3 tbsp milk
10-12 pieces toblerone

Buttercream-
200g butter
100g milk chocolate, melted
450g icing sugar

+ extra Toblerone for decorating

Method

1. Preheat your oven to 160fan/180
2. Cream together the butter and sugar until light and fluffy
3. Beat in the eggs with a spoonful of the flour to prevent curdling
4. Fold through the remaining flour, cocoa and then the milk
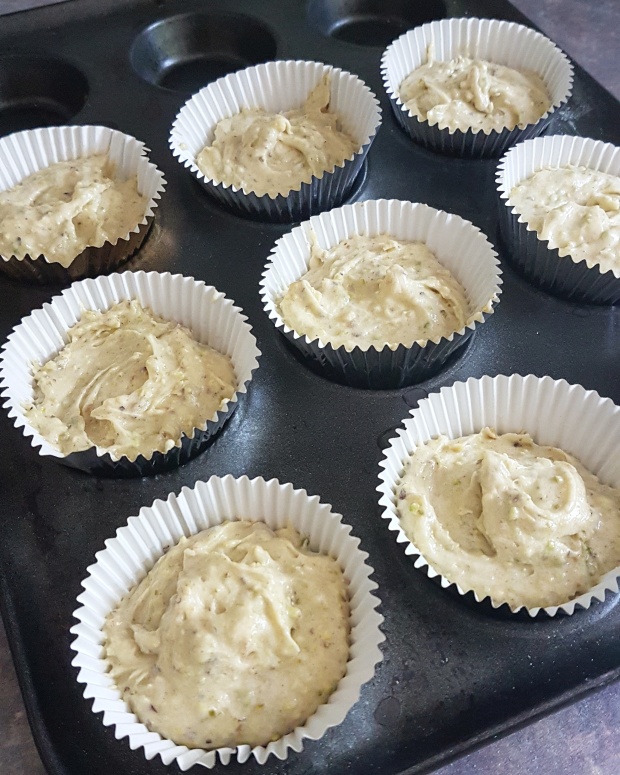
5. Once all mixed together, spoon into your cupcake cases and press a piece of toblerone into the centre of each one
6. Pop into the oven and bake for 20-25 minutes
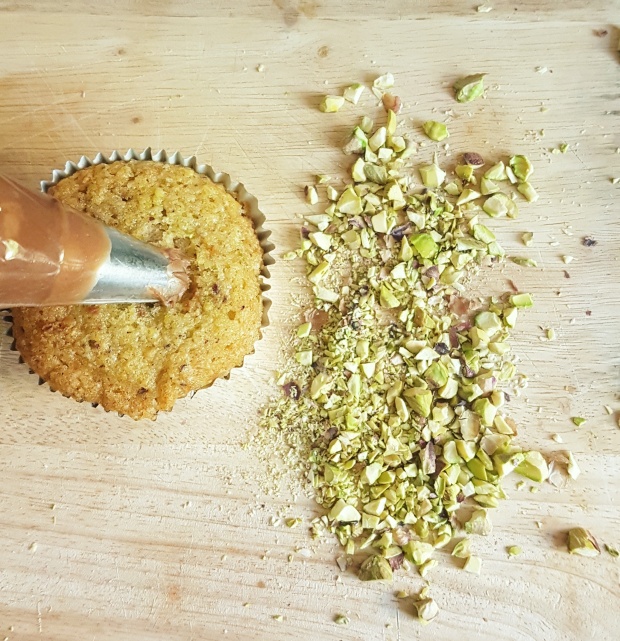
7. As the cupcakes cool start on your buttercream. Once the chocolate is melted and chilled a little, beat it together with the butter and then gradually beat in the icing sugar until light and fluffy.
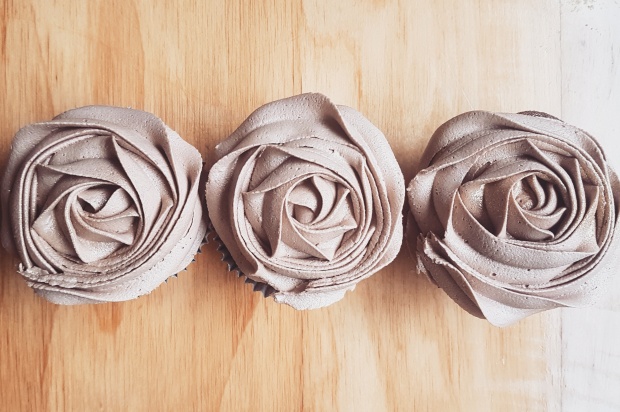
8. Pipe the design of choice on to each cupcake and if you have Toblerone left use to decorate and then, enjoy…

Pistachio Cupcakes with Chocolate Ganache…

Pistachio is without a doubt my flavour of the moment. I just can’t get enough of it! Pistachio ice cream, pistachio yoghurt, pistachio cake and now pistachio cupcakes! These cupcakes are not only pretty beautiful but also delicate and delicious! They have a crumbly nutty texture which pairs wonderfully with the rich and smooth chocolate ganache icing. Enjoy…

Ingredients

80g pistachios plus extra for decorating
140g butter
140g caster sugar
140g self raising flour
2 eggs
5 tbsp milk

For the ganache-
300ml double cream
300g dark chocolate, finely chopped

Method

1. Preheat your oven to 180/160 fan
2. Blend the pistachios with 70g of the sugar, until a fine dust
3. Add pistachio mix to the remaining sugar and cream with the butter
4. Beat in the eggs, flour and milk until the mix is smooth and then spoon into your cupcake cases- the mix should make about 9/10 cupcakes


5. Pop into the oven for 22-25 minutes, until a skewer comes out clean
6. Whilst the cupcakes cook and cool start on the ganache, heat the cream in a saucepan until just boiling. Take off the heat and add the chocolate. Leave to melt and then mix until glossy.
7. Leave the ganache to set, in the fridge if needed, and then beat with an electric whisk to get a smooth think ganache


8. Pop the ganache into a piping bag, with your chosen nozzle and pipe onto each cooled cupcake, I chose a simple rose swirl with piping tip 2D (Wilton).
9. Sprinkle some chopped pistachios on top and for extra elegance I added some rose petals! Enjoy…

Mickey Mouse Cupcakes…

As you may have noticed from previous cakes I am somewhat of a big Disney fan! Themed bakes are definitely my favourite to do, so I’m not sure how it took me so long to think of making these! They are pretty adorable and are sure to delight any Disney fan! Enjoy… 
Ingredients
150g butter, softened
150g caster sugar
3 eggs
120g s.r flour
30g cocoa
2tbsp milk
75g chocolate chips

For the buttercream
200g butter
420g icing sugar
Red food gel
1 tsp vanilla extract

To decorate– 2 for each cupcake
Ears made of black fondant, with added tylose powder, cut into black circles
Smaller yellow circles for Mickey trouser buttons
These decorations are best made the day before to allow them to firm up a little.

Method

1. Preheat your oven to 180/160 fan.
2. Cream your butter and sugar together until soft and fluffy.
3. Beat in the eggs, one at a time, with a little flour to prevent curdling.
4. Fold through the rest of the flour and the cocoa and then then milk and chocolate drops.
5. Spoon into your chosen cupcake cases and pop into the oven for 15-20 minutes until a skewer in the centre comes out clean.

6. To make the buttercream, beat the butter until very pale and fluffy, then beat in the icing sugar, vanilla and red colouring. To get anywhere close to a Mickey red I had to basically use a whole bottle of Wilton red food gel, but use as much as you can justify!
7. Pipe the buttercream in a large swirl on top of each cupcake, then place the ears and buttons in place.
8. Enjoy how adorable they look and then enjoy eating them even more!

Toadstool House Cake…

It has been a little white since I have done a big themed cake, so I was worried I might have become a bit rusty! But luckily I was pretty happy with the result! I especially love the adorable mushroom vegetable patches!! I definitely won’t be leaving it as long before I do another exciting cake! 

The cake itself was chocolate sponge, filled with peanut butter frosting, which also made up the grass. I baked the roof in a hemisphere cake tin, but you could also use an oven proof bowl, just make sure both are very well greased! All the details are just made with fondant and the very pretty path is just lots of sprinkles!  

I’ve done a little photo diary of the process, enjoy…  🍄🍄🍄

Hot Cross Bun French Toast…

French Toast is one of my favourite brunch options and now I’ve found a way to make it even better! As Easter is fast approaching Hot Cross Buns are everywhere! This recipe will work perfectly with any hot cross buns, I personally have a soft spot for any with chocolate in! This is a perfect recipe if you’ve got a couple left over in a packet and want something a bit different, but extra delicious for your breakfast! Enjoy…

Ingredients
(Serves 1)
2 hot cross buns
1 egg
4 tbsp milk or cream
1/2 tsp vanilla
1/2 tsp cinnamon
1 tsp caster sugar
1tbsp butter

Method
1. In a shallow dish, wish together the egg, milk/cream, vanilla, cinnamon and sugar.
2. Heat the butter in a frying pan on a medium heat.

3. Slice each hot cross bun in half and flatten out slightly, dip each half in and out of the egg mixture, on both sides and then place straight into the hot pan.
4. Fry for 2-3 minutes and then flip over and cook through on the other side. The bun will start to go golden brown when ready.
5. Serve with some fresh berries, ice cream, chocolate sauce, maple syrup… whatever takes your fancy! Enjoy…

Giant Piñata Cupcake…

P1060336

This cake was filled with all of life’s loveliest things, literally!! A gorgeous rose design giant chocolate cupcake, with peanut butter frosting, filled with reeses pieces, reeses sticks, bonbons, peanut m&ms and mini marshmallows. And then for extra sweetness a white chocolate edible cupcake case! Need I say any more… enjoy!!

P1060358

Up Cake!!

P1060138

I am a huge huge Disney fan and obviously a massive fan of cake! So I’m not sure why I haven’t made more Disney themed cakes, but after how much I loved making this one, I’m definitely going to have to give more a go. This Up themed cake has probably been my biggest cake challenge to date and I honestly did not think I was going to be able to pull it off. I was panicking about the structure of the house, the detail of it and of course the balloons! But over all I am so glad I took the risk as this is definitely one of my all time favourite cakes! Enjoy…

P1060090

P1060104

P1060138

2 Tier Chocolate Rose Cake…

P1050860

Another of my signature rose cakes! This was my first square one, a large 10″ chocolate square base with a smaller square placed on top as a diamond. I have become so much more confident with stacked cakes, which used to, in all honesty terrify me! I’m definitely still learning but I love seeing how far I have progressed over the last few years. I still love the detail of the rose piping and I added some extra gold flowers and gold pearls to make this cake extra special. Enjoy…

P1050865

P1050875